To compost at home, mix roughly 2–3 parts “browns” (dry leaves, cardboard, straw) with 1 part “greens” (food scraps, grass clippings, coffee grounds) by volume, keep the pile as moist as a wrung-out sponge, and turn it every week or two. A well-managed pile heats to 130–160°F and becomes dark, crumbly, earthy-smelling compost in about 3–5 months; an untended pile still gets there, just more slowly (about a year).
This complete guide covers what composting is, what to add and avoid, how to build a pile, hot vs cold methods, bins and alternatives, how to know when compost is ready, how much to use, and a troubleshooting table for every common problem. It is the starting point for all our soil and compost guides.

Composting at a Glance
| Factor | Target | Why it matters |
|---|---|---|
| Browns to greens | About 2–3 : 1 by volume | Balances carbon and nitrogen (ideal C:N about 25–30:1) |
| Moisture | Like a wrung-out sponge (about 50–60%) | Microbes need water but also air |
| Pile size | At least 3 ft wide, tall, and deep; bins 3–5 ft per side | Smaller piles struggle to heat up |
| Hot pile temperature | 130–160°F | At 131°F+ for several days, many pathogens and weed seeds die |
| Turning | Every few days to weekly for hot piles | Adds oxygen and keeps decomposition fast |
| Time | About 3–5 months (managed); about a year (untended) | Depends on mix, size, turning, and season |
| Curing | At least 4 weeks after active heating ends | Lets compost stabilize before use |
Why Compost?
Composting turns yard waste and kitchen scraps into a soil amendment that improves structure, drainage, and water-holding capacity, feeds soil life, and reduces what goes to the landfill. Food scraps and yard waste make up a large share of household trash, so a backyard pile can noticeably shrink your garbage.

What to Compost (and What Not To)
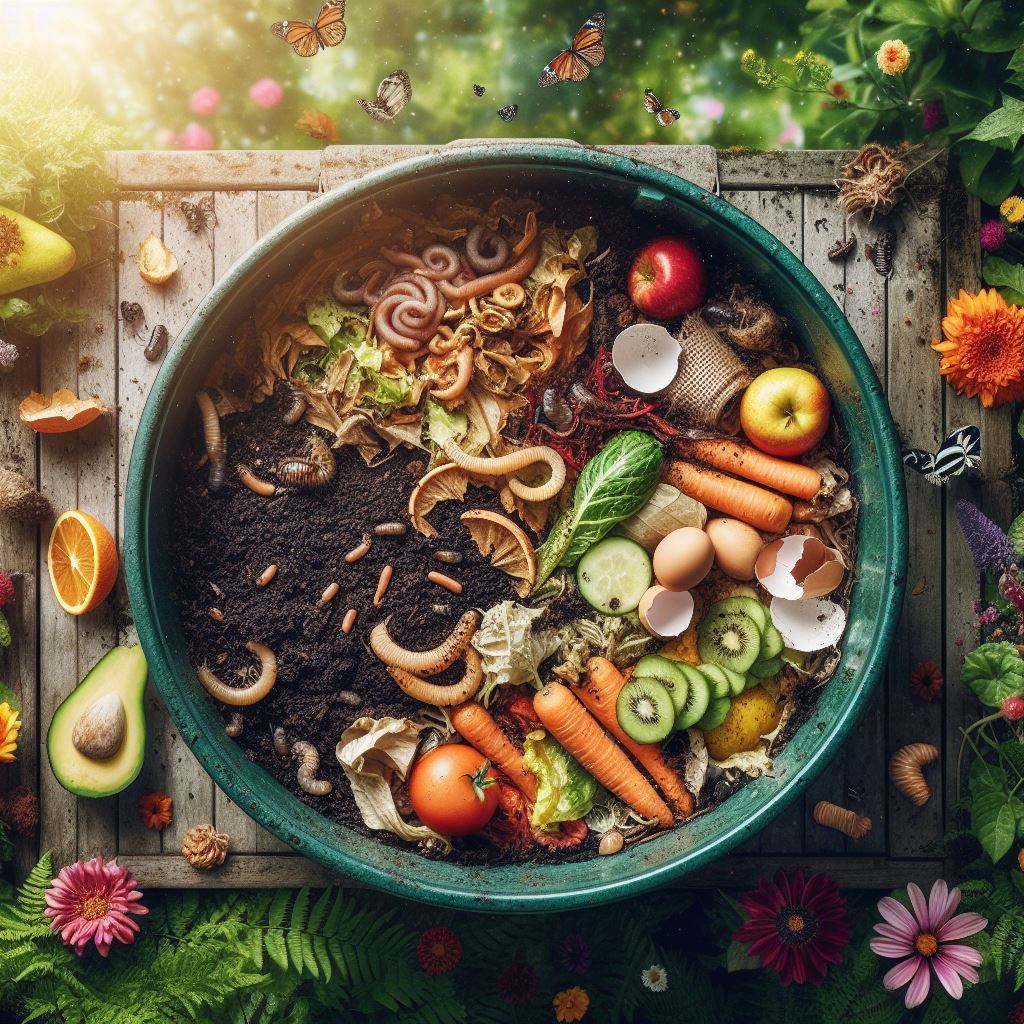
These lists follow US EPA home composting guidance.
| Greens (nitrogen-rich) | Browns (carbon-rich) | Keep out of a backyard pile |
|---|---|---|
| Fruit and vegetable scraps | Dry leaves | Meat, fish, and bones |
| Coffee grounds and paper filters | Straw and dried plant stalks | Dairy, fats, and oils |
| Paper tea bags | Shredded plain paper and newspaper | Pet waste and cat litter |
| Fresh grass clippings (untreated) | Plain cardboard, torn up | Diseased plants and weeds with seeds |
| Fresh plant trimmings | Untreated wood chips and sawdust | Plants treated with herbicides |
| Crushed eggshells | Small twigs | Treated or painted wood, glossy paper, produce stickers |
Meat, dairy, and oily foods attract animals and don’t break down well in typical backyard piles. “Compostable” bags and foodware are usually designed for industrial facilities, not home piles. If you want to compost meat and dairy at home, bokashi composting is a better option. For more on preparing food waste, see our guide to composting kitchen scraps.

How to Build a Compost Pile Step by Step
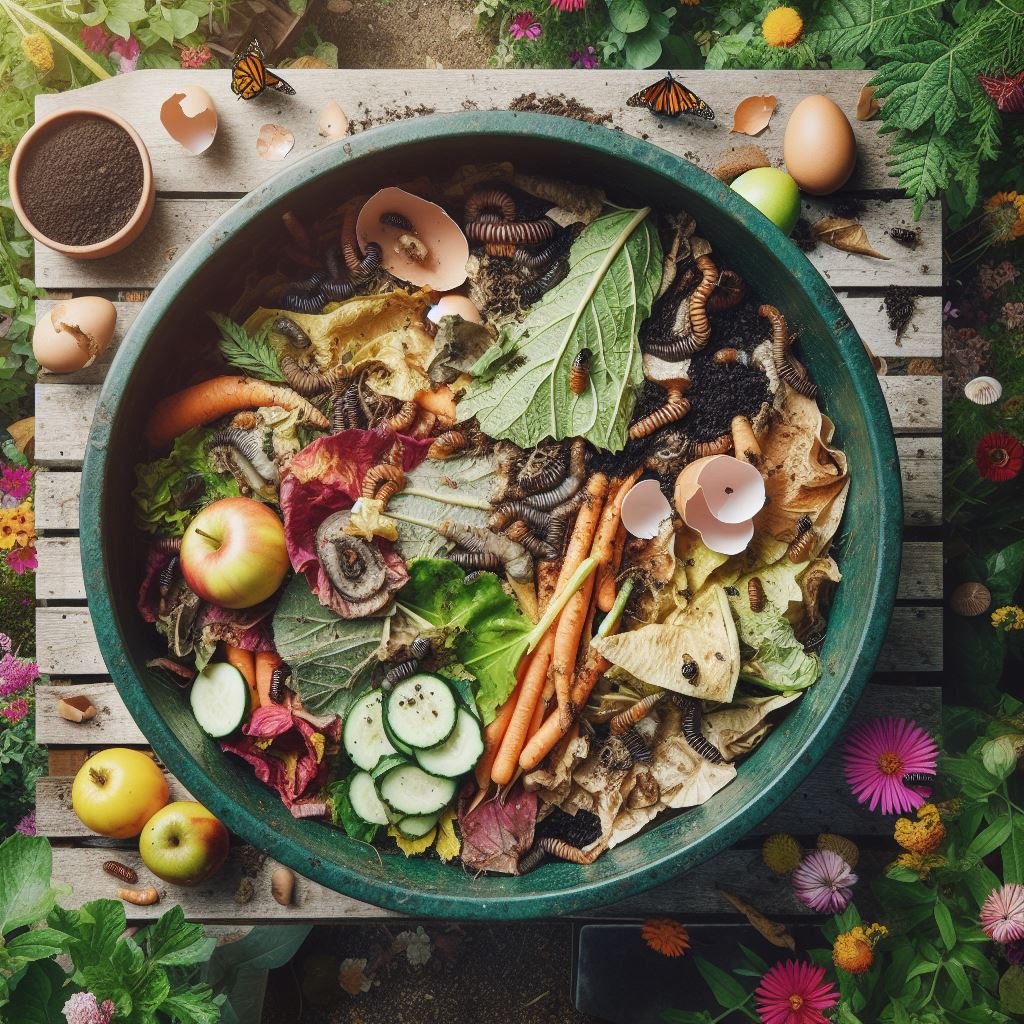
- Pick a spot. Choose a level, well-drained area with some shade, close enough to the kitchen that you’ll actually use it, and with access to a hose.
- Start with coarse browns. Lay 4–6 inches of twigs or straw on the bottom to help air flow.
- Layer greens and browns. Add greens, then cover them with 2–3 times as much brown material. Always bury fresh food scraps under 4–8 inches of browns to prevent odors and pests.
- Add a shovel of soil or finished compost to introduce microbes (optional but helpful).
- Moisten as you build. Water each layer until it feels like a wrung-out sponge.
- Build to at least 3 feet in each direction if you want the pile to heat up.
- Turn it. Use a garden fork to move the outside material to the center every few days to once a week for a hot pile.
- Chop materials small. Shredded leaves and chopped scraps break down much faster than whole ones.
Hot vs Cold Composting
| Feature | Hot (active) composting | Cold (passive) composting |
|---|---|---|
| Effort | Build a large batch at once, turn regularly | Add materials as you have them, little turning |
| Temperature | 130–160°F | Near outdoor temperature |
| Time to finish | As little as 6–8 weeks to a few months | About a year |
| Weed seeds and pathogens | Many killed at 131°F+ (EPA standard: 131°F for at least 3 days; weed seeds around 145°F) | Not reliably killed |
| Best for | Gardeners who want compost quickly | Low-effort households |
Use a compost thermometer to track a hot pile. Turn it when the temperature climbs above about 145–150°F; above 160°F, the beneficial microbes start to die and the process slows. Once it cools below about 120°F, turn it weekly until it no longer reheats.
Compost Bins and Methods Compared
| Method | Best for | Pros | Cons |
|---|---|---|---|
| Open pile | Large yards with lots of leaves | Free, holds big volumes | Looks untidy; can attract animals |
| Single bin (wire, wood, or plastic) | Most backyards | Tidy, keeps heat and moisture in | Harder to turn inside a closed bin |
| Three-bay system | Serious gardeners | Continuous production: one fresh, one active, one curing | Takes space and building effort |
| Barrel or tumbler | Small yards, rodent concerns | Easy turning, enclosed | Smaller batches; may not heat fully |
| Worm bin | Apartments, kitchen scraps | Works indoors, fine castings | Needs moderate temperatures and care |
| Bokashi | Kitchens with meat and dairy scraps | Takes almost all food waste | Produces pre-compost that must be buried or composted |
| Electric food recycler | Reducing food-waste volume indoors | Fast, low odor | Output is dried food waste, not finished compost |


If you’re curious about worm composting, read our complete vermicompost guide, and learn which worms to use in nightcrawlers vs earthworms. Considering a countertop machine? See our Lomi composter review.
Seasonal Composting Calendar
| Season | What to do |
|---|---|
| Spring | Harvest finished compost for beds; restart the pile with stored leaves and fresh greens |
| Summer | Water the pile in dry spells, turn regularly, and balance heavy grass clippings with browns |
| Fall | Stockpile shredded leaves in bags as a winter and spring brown supply; build a large hot pile |
| Winter | Keep adding scraps covered with browns; activity slows in cold weather and restarts in spring |
How to Tell When Compost Is Ready
- It is dark brown, crumbly, and smells earthy, not sour or like ammonia.
- You can no longer recognize the original materials (except a few woody bits).
- The pile has shrunk to roughly a third to half of its original size.
- It no longer heats up after you turn and moisten it.
Let finished compost cure for at least 4 weeks, then screen it through a 1/4 to 1/2-inch mesh if you want a fine product. Return chunks to the next pile.
How to Use Compost (and How Much)
Oregon State University Extension recommends these rates:
| Use | How much |
|---|---|
| New vegetable beds | 3–4 in, worked into the top 8–12 in of soil |
| Established vegetable beds | ¼–1 in per year |
| New landscape beds | 3–4 in, mixed 6–8 in deep |
| New lawns | 1–2 in, tilled in before seeding |
| Lawn topdressing | ¼–½ in after core aeration |
| Raised beds | Up to about 25% compost by volume; don’t fill beds with compost alone |
| Potting mixes | Generally no more than about 25–30% of the mix |
More isn’t always better: excess compost can lead to nutrient buildup and runoff. See how compost fits into homemade mixes in how to make potting soil, or brew a liquid version with our compost tea guide.
Troubleshooting Compost Problems
| Symptom | Likely cause | Fix |
|---|---|---|
| Rotten egg or sour smell | Too wet, too many greens, not enough air | Mix in dry browns and turn the pile |
| Ammonia smell | Too much nitrogen (greens) | Add browns such as shredded leaves or cardboard |
| Pile won’t heat up | Too small, too dry, or too few greens | Enlarge to 3 ft+, add greens and water, then turn |
| Dry, dusty, nothing breaking down | Not enough moisture | Water while turning until damp throughout |
| Slimy, soggy pile | Too wet or compacted | Add straw, leaves, or sawdust; turn; cover during heavy rain |
| Rodents, raccoons, flies | Exposed food, meat or oily scraps | Bury scraps 6–12 in deep, cover with browns, keep out meat and dairy; use a closed bin |
| Ants in the pile | Pile too dry | Moisten and turn |
| Hot only in the center | Normal for unturned piles | Turn outer material into the middle |

Safety Tips
- Wear gloves when handling compost and wash your hands afterward.
- Wear a dust mask when turning dry compost or bagged material, which can release fungal spores.
- Keep pet waste, diseased plants, and herbicide-treated clippings out of compost used on food gardens.
- Be cautious with manure and grass clippings from unknown sources, which may carry persistent herbicide residues that damage vegetables.
Frequently Asked Questions
How long does it take to make compost?
A hot, regularly turned pile can be ready in about 3–5 months (EPA), and some fast methods take 6–8 weeks. A passive pile that’s rarely turned takes about a year, according to the EPA.
What is the best ratio of browns to greens?
About 2–3 parts browns to 1 part greens by volume, which roughly matches the ideal carbon-to-nitrogen ratio of 25–30:1.
Should a compost pile be in sun or shade?
Partial shade is ideal in most climates. Full sun can dry the pile out quickly in hot regions, while deep shade keeps it cool and slow.
Can I compost in winter?
Yes. Decomposition slows in cold weather, but you can keep adding scraps covered with browns, and the pile will become active again in spring.
Do I need a compost bin?
No. An open pile works fine, but bins look tidier, retain heat and moisture, and help keep animals out.
Can I put compost directly on plants?
Finished, cured compost can be spread around plants as a top dressing or mixed into soil. Avoid using unfinished compost, which can tie up nitrogen and harm young roots.
Related reading: cow manure vs mushroom compost.
More Guides in This Series
- Process Composting: Science and Art for a Sustainable Future
- Unleashing the Power of Red Wiggler Worms in Your Garden
- Process of Vermicomposting – Useful Things of Nature
- Vermiculite Soil: The Unsung Hero of Healthy, Resilient Gardens
A simple starting ratio is roughly one part green to one part brown material, according to University of Illinois Extension, since browns supply carbon and greens supply nitrogen. Keep the pile about as moist as a wrung-out sponge, wait at least two weeks before the first turn so the center can heat up, and then turn it every 2 to 4 weeks to speed things along.
Sources
- US Environmental Protection Agency, Composting At Home (browns to greens 2–3:1 by volume, what to add and avoid, 130–160°F, curing at least 4 weeks, 3–5 months to finished compost, application rates).
- University of Illinois Extension: Composting, How It Works